Setting up a woodworking shop in a small garage is less about cramming in every tool you want and more about making the space work properly. A good layout should help you move safely, use your tools without constant frustration, and keep the shop easy to tidy up when the day is done.
This is the practical way I look at it. If the layout supports the kind of projects you actually build, a small garage shop can work far better than people think.
Start With the Space You Actually Have
Before moving tools around, measure the garage properly. That means the walls, doors, windows, storage obstacles, and anything else that affects where tools can go.
- Measure the floor space accurately
- Note where doors swing and where the garage door tracks sit
- Check plug locations and lighting
- Think about how much open floor space you need to keep
- Be honest about whether the car is staying in there or not
You cannot plan a useful layout until you know what space is genuinely available.
Keep the Middle Open if You Can
In a small shop, open floor space matters. A lot of the time, the easiest layout is to keep the larger fixed items around the outside and leave the middle as flexible space for handling timber, assembly, and moving around.
- Put benches and storage along the walls
- Keep the centre free for assembly and movement
- Use mobile bases where a tool does not need to stay fixed
- Avoid blocking your own infeed and outfeed paths
Build the Layout Around the Core Tools
You do not need every machine straight away. In a small garage shop, it usually makes more sense to build the layout around a few core tools and leave yourself room to work.
- A workbench or portable bench
- A table saw or other main cutting setup
- A drill and handheld tools
- Dust extraction or at least a workable dust plan
- Storage for the tools you actually use most
Everything else can come later if the workflow really needs it.
Mobile Tools Help a Small Shop More Than People Expect
If a tool does not need a permanent home in the middle of the floor, putting it on a mobile base often makes sense. That way you can roll it out when you need it and get the space back when you do not.
- Planers
- Jobsite table saws
- Small carts and support stands
- Portable workbenches
That kind of flexibility makes a big difference when the shop has to do more than one job.
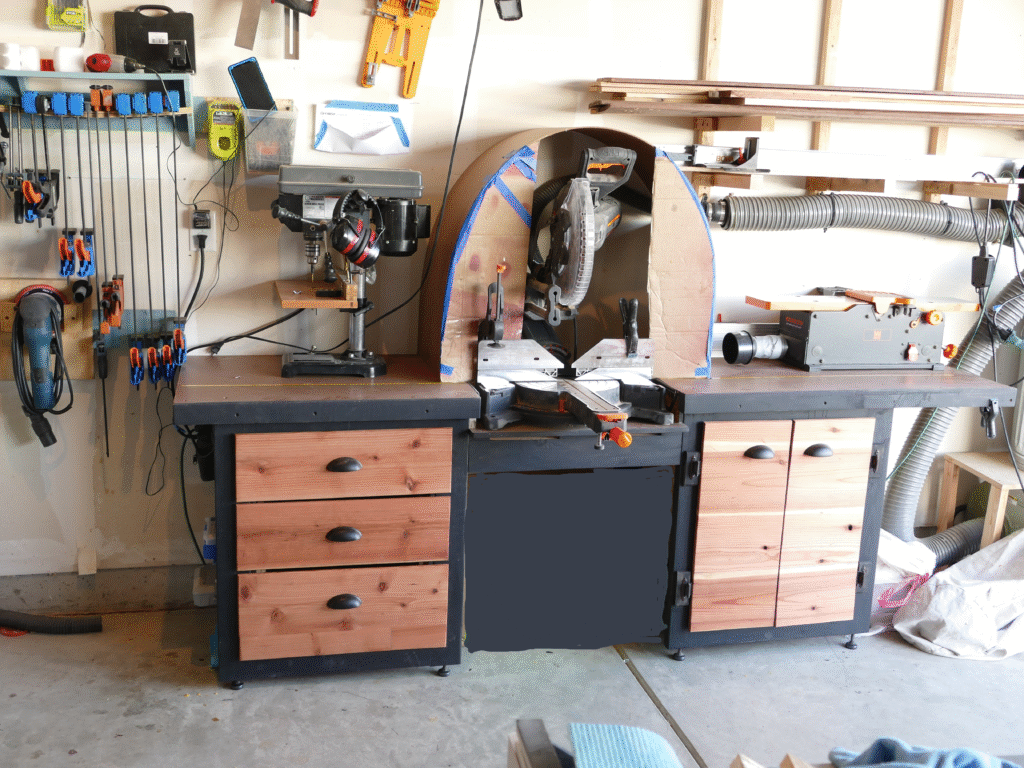
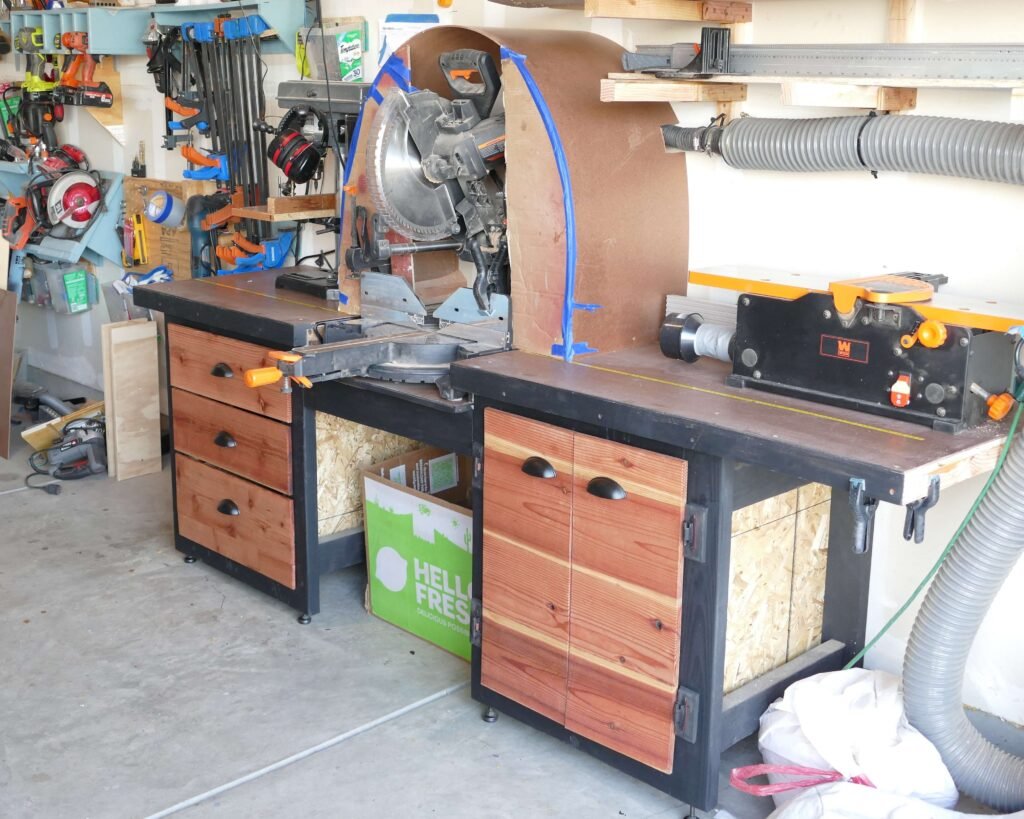
Storage Matters More Than More Tools
A cramped shop feels worse when everything has no clear place to go. Good storage usually improves a small workshop faster than buying another machine.
- Use wall space for tools and jigs
- Use under-bench storage where possible
- Store clamps where they are easy to grab
- Keep timber storage simple and out of the way
- Do not let offcuts take over the whole shop
French cleats, shelves, wall racks, and simple drawers all help more than cluttered piles on the floor.
Dust, Power, and Lighting Need a Plan Too
A shop layout is not just where the tools sit. It also needs to work for dust, power, and visibility.
- Keep dust collection realistic for the size of the shop
- Make sure extension leads do not become trip hazards
- Use good general lighting and task lighting over the bench
- Leave enough room around machines to work safely
- Keep clear access to the exit and safety gear
If dust control is part of your setup, this may help as well: HERCULES Dust Extractor Review for a Small Garage Workshop.
A Simple Small-Shop Layout Approach
- Bench against a wall or in a position that still leaves movement space
- Main cutting tool placed where infeed and outfeed make sense
- Wall storage above or near the workbench
- Portable tools on movable carts or shelves
- Open centre area kept for assembly and timber handling
That kind of setup is often enough to make a half-garage or single-bay workshop work surprisingly well.
My Practical Advice
Do not try to build the perfect dream shop all at once. Start with the core layout, use it for a while, and then change what actually gets in your way. A small garage shop usually improves faster through use than through over-planning.
If you are still working on the basics, these posts go well with this one:
- Small Woodworking Shop Setup: Make the Most of Your Space
- DIY Portable Workbench for a Small Garage Shop
- Best Beginner Table Saw on a Budget for a Small Garage Shop
- Every Woodwork Shop Needs a 3D Printer
Watch the Video
If you want to see the shop layout video, watch it here:
Watch my woodworking shop layout video on YouTube
If you want more practical garage-shop builds, tool ideas, and woodworking as I learn along the way, you can subscribe to my YouTube channel here.