If you want cleaner cuts and better support for small pieces, a zero-clearance fence table is a simple upgrade worth making. This is the version I built for my own sliding miter saw in my garage workshop. If you want the broader guide first, read Zero Clearance Miter Saw Fence: What It Is and How to Build One. If you want to watch the build, the full video is linked further down this page.
Why I Built a Zero-Clearance Fence Table
The factory setup on many sliding miter saws leaves too much open space around the blade. That gap can let smaller offcuts drop, reduce support near the cut line, and make fine work feel less controlled. I wanted a simple fix that gave me better support, cleaner cuts, and a setup that felt more solid to use.
- Better support for narrow or short pieces
- Less tear-out around the cut
- A cleaner, more controlled cutting area
- A simple upgrade you can build yourself

What This Fence Table Actually Does
A zero-clearance fence table fills in the open space close to the blade so the workpiece stays supported right up to the cut. That matters most when you are trimming smaller stock, cutting miters, or trying to get a cleaner finish with less chip-out.
It does not turn a saw into something it is not, and it does not replace safe technique. What it does do is make the saw easier to use for the kind of real garage-shop jobs many of us actually do.
Materials I Used
- 3/4 inch plywood or MDF
- Wood screws
- Double-sided tape for positioning
- Clamps
- A drill and basic hand tools
- Your sliding miter saw for test fitting as you go
How I Built It
- Measure the saw first. I checked the base area and the fence line before cutting anything so the parts would fit the saw properly.
- Cut the base and back fence pieces. I used sheet material cut to suit the saw, leaving enough width and length to support the work without getting in the way.
- Make the spacer blocks. Small blocks helped bridge the gap between the saw and the table so everything could sit where it needed to sit.
- Dry fit everything on the saw. Before fixing anything permanently, I placed the parts on the saw and checked that the setup sat square to the blade path.
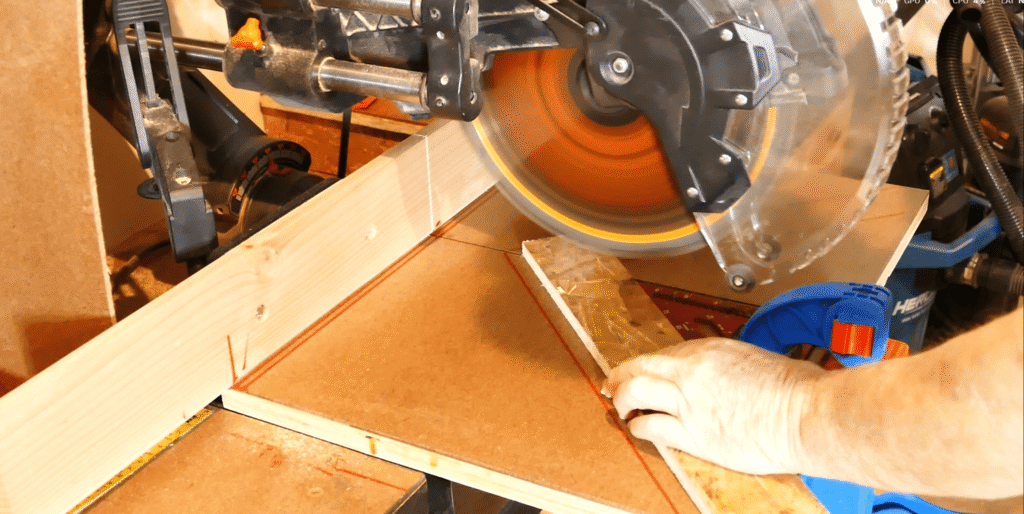
- Fix the fence in place. Once I was happy with the position, I taped it in place, removed the assembly, then drilled and screwed it together properly.
- Make the first cut carefully. After reinstalling it, I brought the blade down through the new surface to create the zero-clearance slot.
I built mine around my own sliding miter saw setup, but the same basic idea works across a lot of saws as long as you size it to your machine.
What I Like About This Upgrade
- It is cheap to make
- It improves support near the blade
- It helps keep cuts feeling more controlled
- It suits a small garage workshop where simple upgrades matter
It is one of those shop improvements that does not look fancy, but once it is in place you notice the difference straight away.
Watch the Full Build Video
If you want to see exactly how I put it together, watch the full video here:
Watch the zero-clearance fence table build on YouTube
And if you want more practical garage-shop projects and tool ideas, you can subscribe to my YouTube channel here.
More Posts You May Want to Read
- Zero Clearance Miter Saw Fence: What It Is and How to Build One
- The Simple Zero-Clearance Throat Plate Trick for Cleaner Table Saw Cuts
- How to Choose a Sliding Miter Saw for a Small Garage Shop
- Best Beginner Table Saw on a Budget for a Small Garage Shop
- Small Woodworking Shop Setup: Make the Most of Your Space