Buying a sliding miter saw can feel confusing at first, especially when every model seems to promise more power, more capacity, and more features. The better way to look at it is this: choose the saw that fits the kind of work you actually do, the space you actually have, and the budget you are comfortable with.
If you are setting up a small garage workshop, that usually means looking for a saw that is accurate, practical, and not too bulky. This guide keeps it simple and covers the main things worth checking before you buy.
What Makes a Sliding Miter Saw Different?
A standard miter saw pivots for angled cuts, but a sliding miter saw also moves forward and backward on rails or arms. That extra movement gives it a bigger cross-cut capacity, which means it can handle wider boards in a single pass.
That is the main reason people choose one. If you cut trim, shelves, wider boards, or general project timber, the sliding function gives you more flexibility than a basic chop saw.
Start With the Type of Work You Actually Do
- Trim and finish work
- General DIY and home projects
- Framing and construction work
- Furniture and cleaner detail work
- Occasional jobs versus regular use
If you mostly cut standard timber and common project wood, you probably do not need the biggest saw on the market. A lot of hobbyists are better served by a practical 10-inch sliding saw than a very large 12-inch model that takes up more room and costs more to run.
10-Inch or 12-Inch?
10-Inch Sliding Miter Saw
- Usually easier to move around
- Takes up less space
- Often enough for DIY and garage-shop work
- Blades are usually cheaper
12-Inch Sliding Miter Saw
- More cutting depth
- Usually better for larger stock
- Heavier and bulkier
- Needs more room in the shop
For many small-shop woodworkers, a 10-inch model is the easier choice to live with. A 12-inch saw makes more sense if you regularly cut bigger material and know you need the extra capacity.
Check the Space Behind the Saw
This matters more than many people expect. Some sliding miter saws use rear rails that stick out behind the machine. Others use a more compact slide design that needs less clearance from the wall.
- Rear rail designs usually need more room behind the saw
- Compact slide designs are often better for smaller workshops
If your saw will sit in a tight garage shop or on a bench against the wall, measure that space before you buy anything.
Single Bevel or Dual Bevel?
A single-bevel saw tilts in one direction only. A dual-bevel saw tilts both left and right. The benefit of dual bevel is convenience. It makes repeated angled cuts easier because you do not have to keep flipping the workpiece around.
If you mostly do basic cuts, a single-bevel saw can still be fine. If you want a smoother time with trim, picture frames, compound cuts, or repeat work, a dual-bevel saw is usually worth having.
What Features Are Actually Worth Caring About?
- Cutting capacity for the width and thickness you really use
- Slide design that suits your bench and wall space
- Dust collection that works reasonably well with a vacuum
- Smooth controls and clear adjustments
- Good fence and table support
- Weight and portability if you need to move it often
Laser guides and shadow lines can be useful, but they are not the main reason to choose a saw. Good basic function matters more than extra gimmicks.
Do Not Ignore Dust Collection
Miter saws throw dust everywhere. None of them are perfect, but some do a better job than others when connected to a shop vacuum or dust extractor. If you already use dust collection in the shop, make sure the saw you choose can connect to it properly.
If dust matters to you, this may help as well: HERCULES Dust Extractor Cut Out Saw Dust Upgrade Now.
A Simple Buying Checklist
- Measure the space where the saw will live
- Decide whether a 10-inch or 12-inch model makes more sense
- Think about whether you want single bevel or dual bevel
- Check the cutting capacity for the type of wood you actually use
- Look at dust collection, weight, and general ease of use
- Read reviews with a focus on accuracy, slide smoothness, and build quality
The best sliding miter saw is not the one with the biggest headline number. It is the one that suits your work and fits your shop without becoming a nuisance.
My Practical View
If you are a hobbyist or working from a small garage shop, it often makes sense to buy the most practical saw you can manage rather than the largest one you can afford. A saw that is easy to set up, easy to use, and accurate for everyday work will usually help you more than one that is oversized for the jobs you actually do.
If you want to look at one example, read this next: WEN MM1215 12inch Dual Bevel Sliding Compound Miter.
Watch and Follow Along
If you want more practical garage-shop builds, tool ideas, and woodworking as I learn along the way, you can subscribe to my YouTube channel here.
More Posts You May Want to Read
- WEN MM1215 12-Inch Dual-Bevel Sliding Miter Saw Review
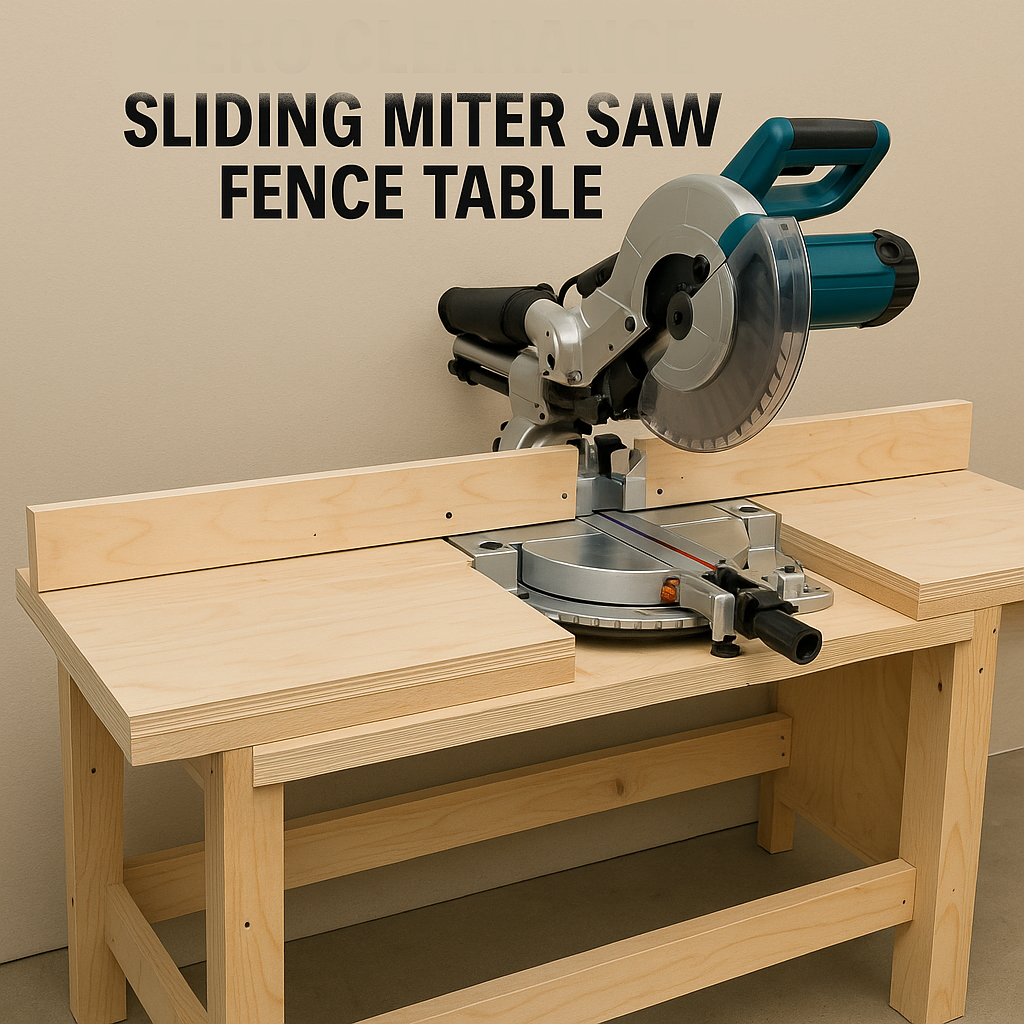
- How I Built a Zero-Clearance Fence Table for My Sliding Miter Saw
- Zero Clearance Miter Saw Fence: What It Is and How to Build One
- The Simple Zero-Clearance Throat Plate Trick for Cleaner Table Saw Cuts
- Best Beginner Table Saw on a Budget for a Small Garage Shop